AtomicDEX Desktop supports hundreds of coins right out of the box, but if you want to add a new token which is not yet in the wallet, you can add it yourself within the app!
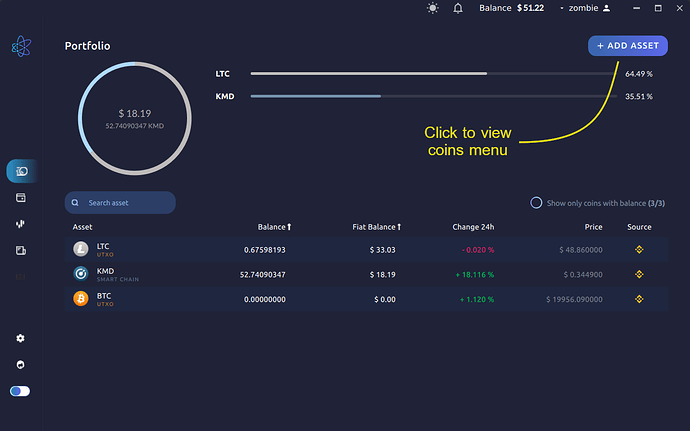
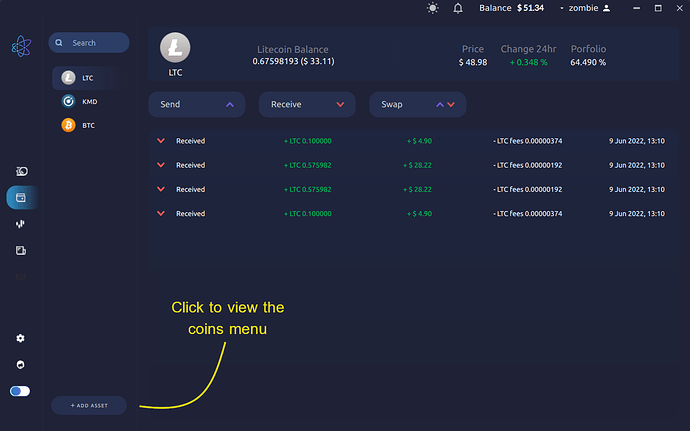
First, open the coin activation modal.
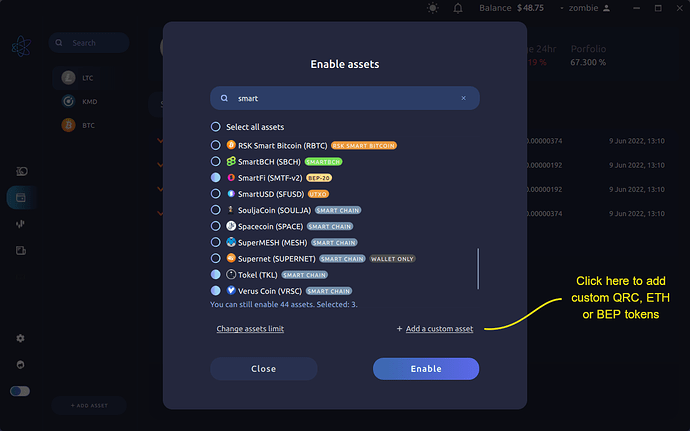
Next, click on the “Add a custom asset”
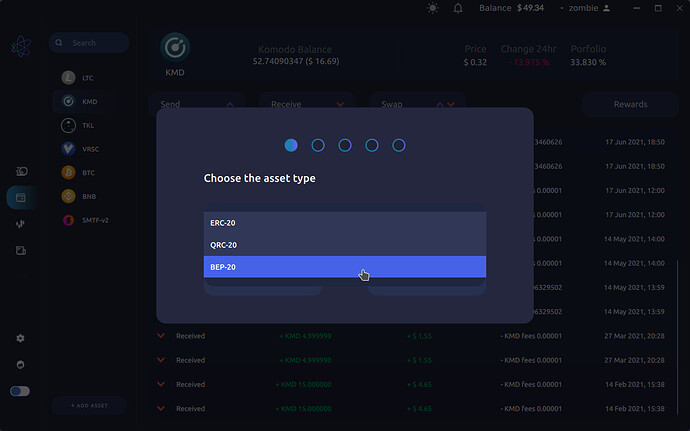
Now we need to select which protocol the token we want to add is on from the drop down. For this example, I’ll select BEP-20, and then click “Next” to continue.
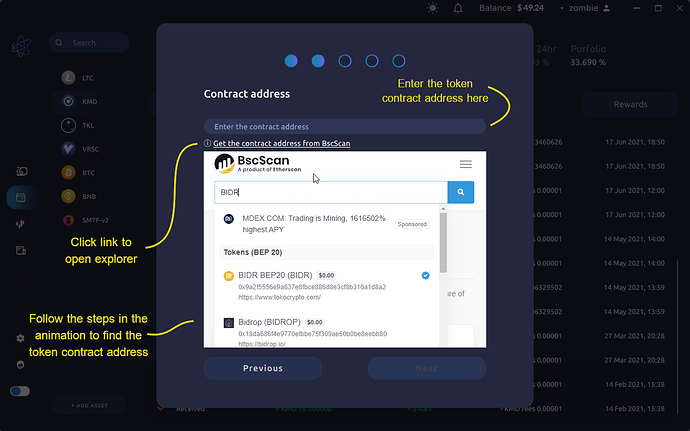
Now we need to input the custom token’s contract address, which we can find on https://www.bscscan.com/ (for BEP-20 tokens), https://etherscan.io/ (for ERC-20 tokens) or https://explorer.qtum.org/ (for QRC-20 tokens). There is a link to the selected protocol’s explorer in the app below the input field, and the animation below it demonstrates how to find the correct token contract address.
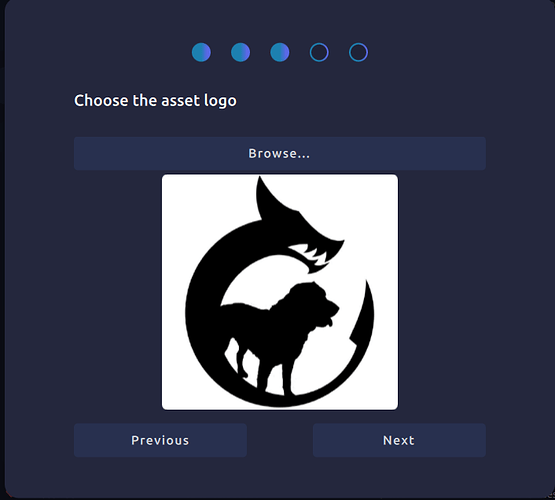
Next, we need to select an image to use for the token. You can probably find an official token icon on the project’s website or services like Nomics, Coingecko or CoinPaprika, or you can add your own custom image.
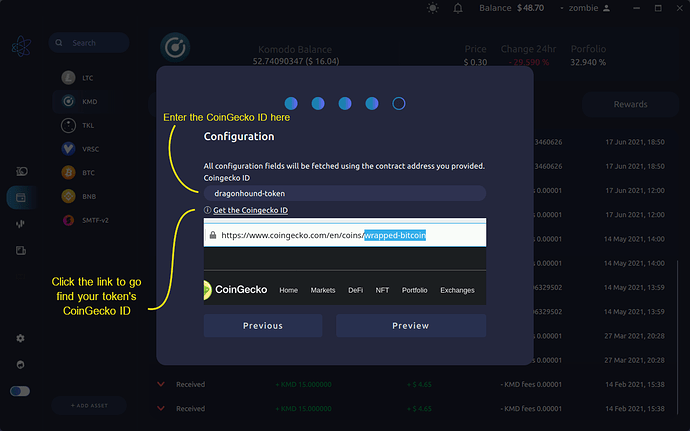
The last step is to get a CoinGecko ID for the token (if available) so AtomicDEX can display price data for this token. If the token has no ID or you can’t find it, just input “test-coin”.
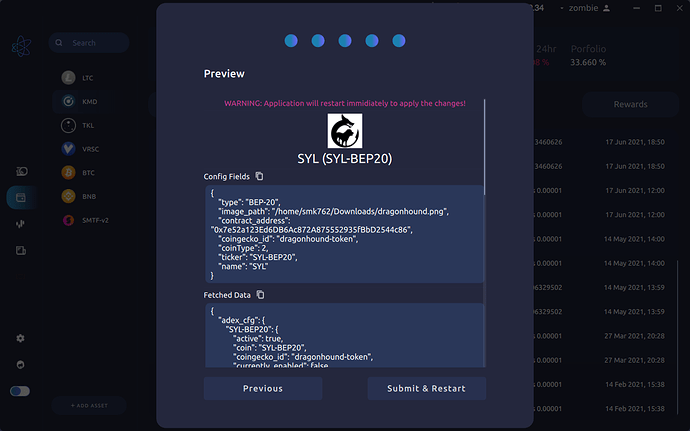
Click the “Preview” button to see and confirm the custom coin configuration data.
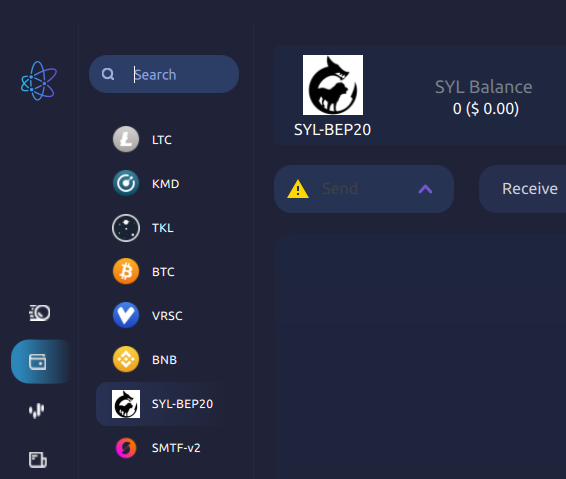
If everything looks ok, click “Submit & Restart”. This will apply the update to your local coins data, and restart AtomicDEX. Log in, and you will be able to see your custom added token!
Please note that other AtomicDEX users will not have this custom token in their wallet (unless they also added it themselves).
To apply for a formal listing on AtomicDEX Desktop, please review the requirements in our “coins” github repository, and get in our with our team on the KomodoPlatform Discord
